A Complete Guide to Conduit Bodies: Types, Selection & Installation
A Complete Guide to Conduit Bodies: Types, Selection & Installation
August 29, 2025
Whether you’re an electrical contractor, a new apprentice, a project manager, or a hands-on homeowner tackling DIY wiring—mastering the use of conduit bodies is a game-changer. These small but mighty fittings save time, reduce frustration, and prevent costly mistakes in any conduit system.
If you’ve ever wondered, “What is a conduit body, anyway?” you’re in the right place. Let’s break down everything you need to know about this essential electrical component.
What Is a Conduit Body?
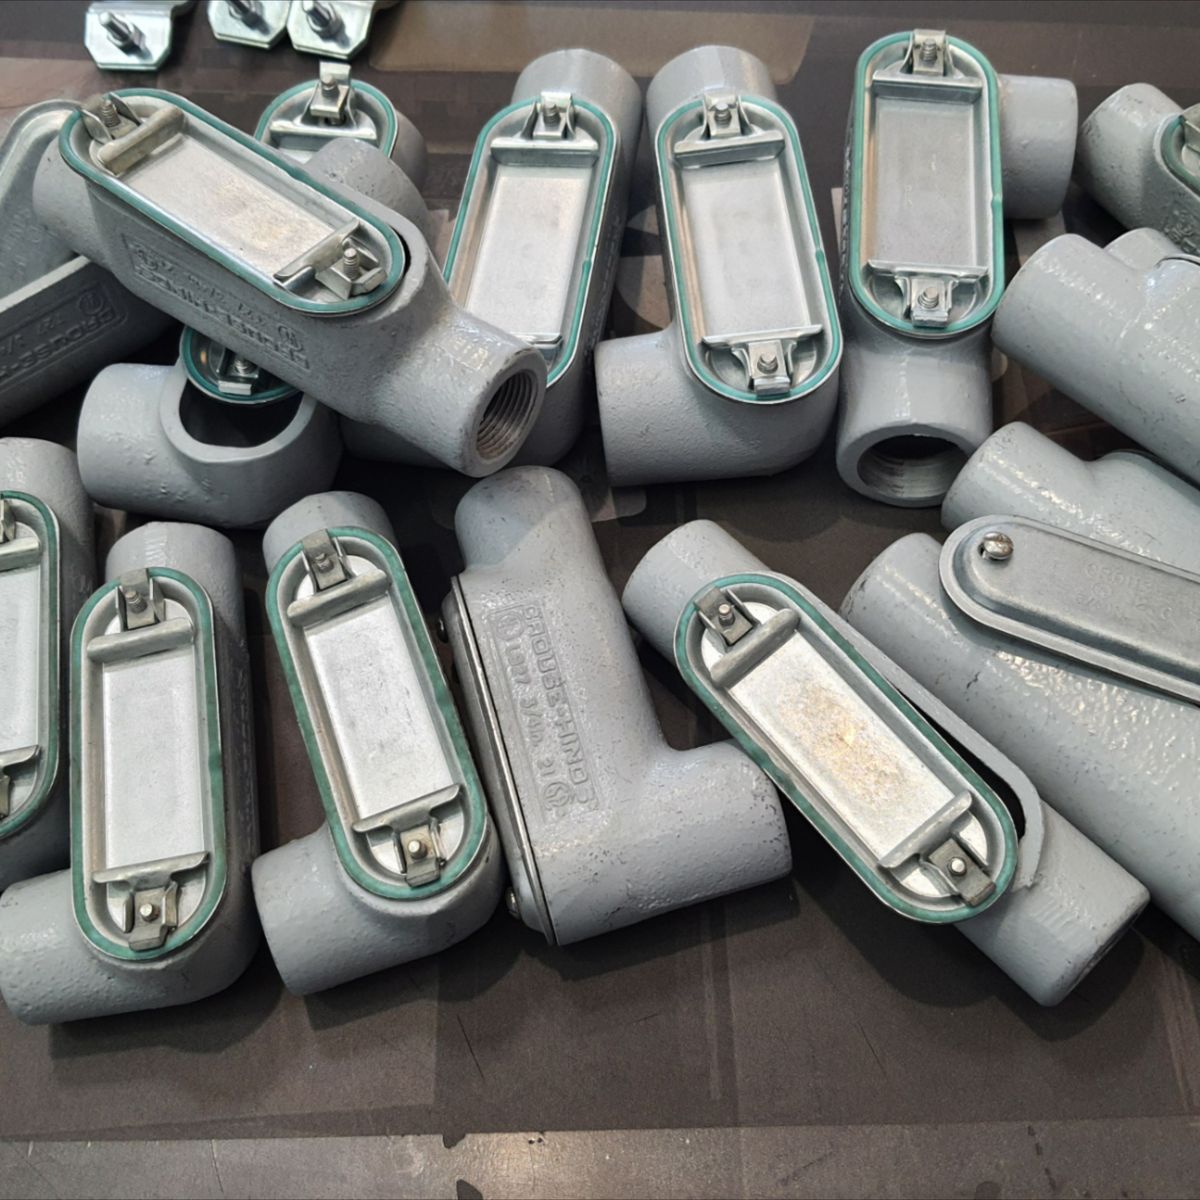
At its core, a conduit body is a hollow, compact fitting designed to connect sections of electrical conduit. Its key roles?
Let you change the direction of conduit runs (e.g., 90° bends, left/right turns).
Make wire pulling smoother, especially around corners or long runs.
Provide easy access to wiring for future maintenance, inspections, or adjustments.
While it may seem simple, a conduit body is non-negotiable for keeping conduit systems organized, accessible, and code-compliant. And with several types (like LB, LL, LR, T, and C), there’s a specific design for every layout need.
The Top 6 Conduit Body Types (And When to Use Them)
Not all conduit bodies are created equal. Each type is engineered for a specific directional or functional purpose. Here’s a breakdown of the most common options:
1. LB Conduit Body
Design: Inlet aligns with the cover; outlet exits from the back, creating a 90° bend.
Best For: This is the workhorse of conduit bodies. Use it when conduit runs up a wall and needs to turn into the back of a building—think near meter bases or outdoor service entrances. Wires enter the front and exit the back, making it ideal for “wall-to-building” transitions.
2. LL Conduit Body
Design: Inlet aligns with the cover; outlet exits to the left.
Best For: When wiring needs to wrap around a left-hand corner (along walls or ceilings). The removable cover lets you access the bend easily, which is a lifesaver for wire adjustments.
3. LR Conduit Body
Design: Inlet aligns with the cover; outlet exits to the right.
Best For: The mirror opposite of the LL. Use it for right-hand turns—like navigating around wall corners or connecting to equipment on the right side of a run.
4. T Conduit Body
Design: Inlet and outlet form a straight line; a third “branch” outlet aligns with the cover (usually perpendicular to the main run).
Best For: Splitting a single conduit line into two. For example, sending one branch to lights and another to outlets. The cover faces the branch, so you can pull or inspect wires at the junction point with minimal hassle.
5. C Conduit Body
Design: Inlet and outlet are in a straight line—no direction change.
Best For: Long, straight conduit runs. It acts as a mid-point access point to make wire pulling easier (no more struggling with tight, unbroken runs). It’s also great for future inspections of straight-line wiring.
6. X Conduit Body
Design: Four hubs (front, back, left, right) form a cross; the access cover sits in the center.
Best For: Four-way conduit intersections. It’s rare in residential work but pops up in commercial ceilings or industrial layouts where multiple lines converge. Important note: Check local codes first—some regions restrict X-type use.
Picking the right conduit body goes beyond shape—it needs to match your system, environment, and local codes. Follow these steps:
Step 1: Match the Conduit Path
Start by mapping your conduit’s route:
90° turn into a wall/building? Go with LB.
Left/right corner? LL or LR.
Three-way branch? T-type.
Four-way intersection? X-type (check codes!).
Long straight run? C-type for access.
Each design maintains the proper wire bend radius while keeping conductors accessible.
Step 2: Select the Right Connection Type
Conduit bodies come in threaded or non-threaded (smooth) versions—match them to your conduit material:
Threaded hubs: For rigid metal conduit (RMC), intermediate metal conduit (IMC), or EMT fittings. Screw onto threaded conduit ends or adapters.
Smooth hubs: For PVC conduit. Joined with solvent cement (no threads).
Mismatching (e.g., gluing into threads) leads to leaky, non-compliant connections.
Step 3: Confirm Size & Capacity
Hub Size: Must match your conduit’s outer diameter (ranges from ½” to 4”+).
Internal Volume: Use the manufacturer’s cubic inch rating to ensure enough space for wire bends and terminations. If wires are tight, opt for a “deep” version for extra room.
Poor sizing causes overheating, damage, or failed inspections.
Step 5: Follow Local Codes
Always check local electrical codes (a key reference like NEC Article 314):
Long conduit runs need accessible pull points.
Covers must be removable without damaging walls/finishes.
Some regions ban certain materials/types (e.g., X-bodies in residential areas).
Final Thoughts
Conduit bodies may be small, but they’re the backbone of a functional, maintainable electrical system. By understanding their types, materials, and selection criteria, you’ll avoid rework, speed up installations, and ensure compliance—whether you’re working on a home, commercial, or industrial project.
If you have questions or need help selecting the right conduit body for your job, it's advisable to consult relevant professionals or reference more detailed electrical installation handbooks. They can offer more in - depth guidance based on your specific project requirements.
Thanks for reading—happy wiring!
FAQs About Conduit Bodies
Q1: Can I install a conduit body outdoors?
Yes, but it must be rated for wet locations (marked “wet location” or “raintight”) and used with a gasketed cover. For exposed areas, choose PVC (solvent-welded) or corrosion-resistant metal. Always confirm relevant safety and quality certifications.
Q2: LB vs. LL—how do I choose?
LB: 90° turn from front to back (wall-to-building transitions).
LL: 90° turn to the left (when facing the cover, for corner runs). Visualize the wire path—if it turns inward (toward a wall), use LB; if it turns left, use LL.
Q3: Do I need sealant for the cover?
Wet/outdoor: Use a gasketed cover + non-hardening sealant (around screws/edges) for extra waterproofing.
Dry indoor: Standard screw-on covers work without sealant (unless the product instructions say otherwise).